Showing posts with label slant lap. Show all posts

Saturday, 16 April 2022

The Lap of Lapidary is Open!

 I often see people asking how to set up a lapidary shop so I thought I'd show mine. First off, decide what you want to do- cut, grind, shape, polish, make jewelry- the options are endless. Lapidary equipment can take up a lot of space and be expensive so you might have to be selective. In my case, I have a dedicated powered shop 24 ft. X 12 ft. so I have lots of room. I could even fit a few more pieces in if anyone wants to make a donation (heh,heh)! Here's the set up.


The window (not shown) and fan provide good ventilation and it is well lit. I also run an air filter. I made most of the tables and they are sturdy and solid- a real must.

In my case, I decided I didn't want to cut really large rocks so my two largest saws have a 10 inch blade. The oil saw was made 60+ years ago by a company in Edmonton Canada (long gone) called Mercury. It is cast aluminum so will last a lot longer than I will!


It has a motorized feed and rock vise that I rarely use since I run the rocks through by hand. I made the splash guard and my daughter Sandra installed the new 1/2 HP  motor last year. Notice my rock filing system in the background! I use it for cutting large rocks for specimens and slabs.

My other large saw is one of my favourite pieces. It is also 10 inches but is cooled/ lubricated by water.


This saw is made by Hi-Tech and I have a sliding vise and bridge for it. It is made from an amazingly sturdy and rugged polyethelene which means it won't rust and is much easier to clean. And it is so much easier (and I think healthier) to work with water. I cut slabs with this saw but can also cut shapes from the slabs with the thin blade. I can even use it to cut glass.

I am very fortunate to have a wife who loves to comb the nearby beaches and since every visitor to our store gets a free local rock, I need a tumbler. Mine is a Lot-O-Tumbler that holds a 4 LB load.


It is an absolute horse and I run it all summer. Since it is a vibrating tumbler, I go from rough to polished finish in a week or less so I will do about 25 loads each year. The concrete base stops it from going on a tour of the shop.

It is only after I have cut a rock that I can decide what I want to use it for. Since we have fantastic local agate and jasper, many become polished specimens that are sold in the store. And for this task I have another amazing machine called a slant lap.


This machine is also made by Hi-Tech and extremely durable. It grinds a flat surface by use of round plated that vary in coarseness and is cooled by water so very easy to clean. I hang my different plates on wooden dowels above the machine. These machines are also available with a horizontal top but I find the slant angle mush easier if your back is as old as mine!

I have a flat top grinding machine that I use for a variety of purposes.


This machine has a rotating spindle to which I can attach either a cutting or grinding bit. I use it for shaping stone or glass but can also use it to cut grooves around pieces to allow me to use a wire wrapping technique. It is also cooled by water. The black object behind is my air purifier.

In order to drill holes in rocks, it must be done under water. And while some can do it by a hand held tool, I much prefer a drill press.


Here, I have a diamond bit installed and a tray so the piece can be drilled under water. If you want more info on this operation, just contact me.

I have to say that while I like working with all the various pieces in my shop, if I had to whittle it down to a favourite, it would be the Cab King!


This machine allows me to polish surfaces and create high polished cabochons for pendants. I have had other similar machines but there are a few things that set this one apart. Most importantly, the wheels are cooled by water that comes from above (as opposed to below with some other machines). This avoids contamination. Secondly, when compared to other units, this one is quite quiet. Thirdly, the wheels on one side can be removed and replaced by an 8 inch trim saw running off the same motor and it is a really good trim saw! And the motor is powerful enough for two people to work on wheels on different sides at the same time. Lastly, it is very easy to clean.

If you have any questions, I'll be happy to answer them and if you happen to find yourself on Digby Neck, in Nova Scotia Canada, come on by and see them in action.

So there you have it. And while some might prefer to live in the lap of luxury, I much prefer living in The Lap of Lapidary!

Sunday, 5 July 2020

What We've Been Up To

So how are we all bearing up in these "unique" times? It is so strange not having tourists visiting the shop but we are still keeping busy.

The new Cab King has proven to be amazing and we are producing some really outstanding finished product.


I have run into a bit of a problem though in that the "real artist" has decided she likes working on it as well and has even demanded her own apron!


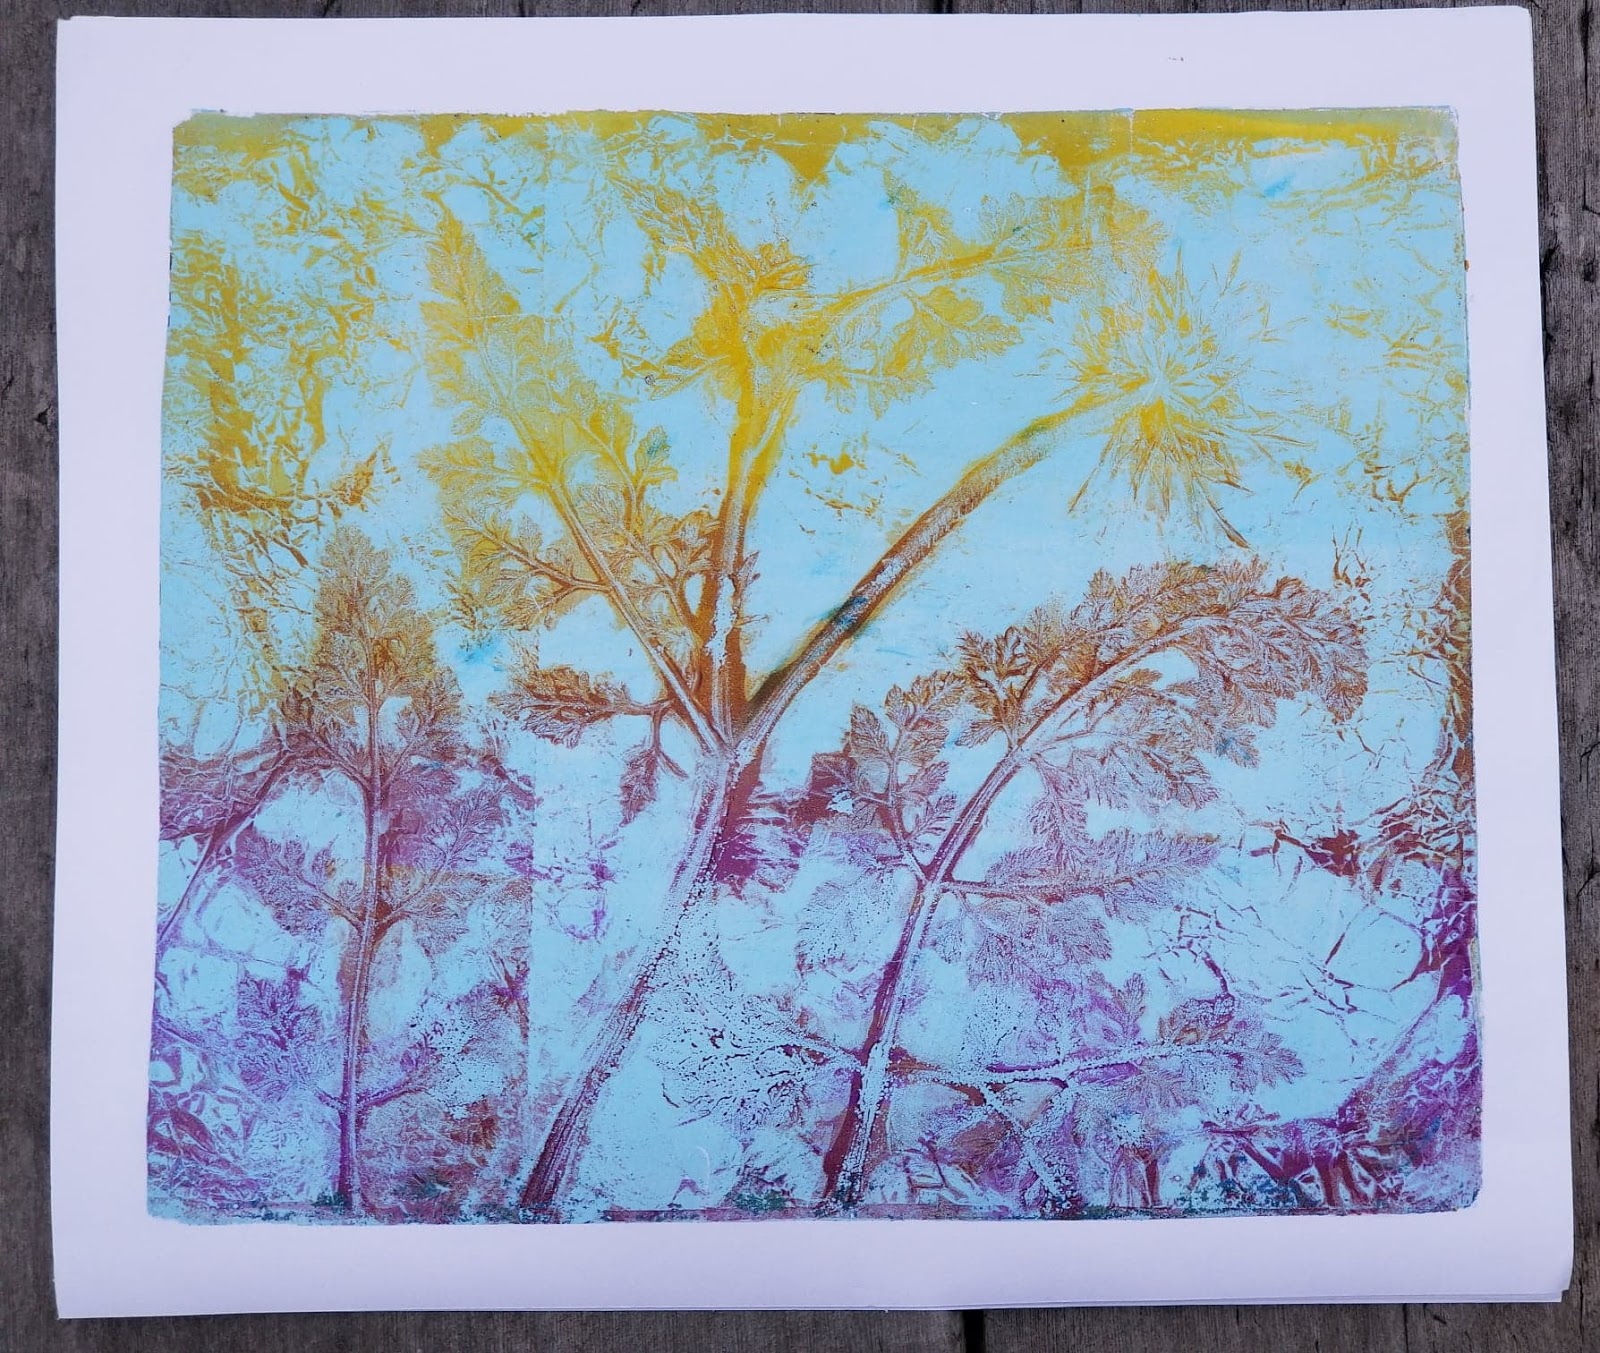
Fortunately, she got bored and returned to her own side of the wall where she has been busy making gelli prints. I have no idea of the process other than the fact that I can no longer remove any of the various weeds around the house. The results are pretty cool I must admit. Here are a couple that are about 12x16 inches.


I find the detail amazing and, frankly struck by how beautiful an image a weed can make. Almost makes up for the fact I live my life in a grade 7 science project!

Next week I will shift my attention to some cutting on the 10 inch saw and making some polished specimens on my Hi-Tech slant lap so stay tuned!

Saturday, 30 May 2020

A Tour of the Lap of Lapidary

Well, I have finally managed to get all the machines up and running and have decided that the shop name had to be changed. Since it now has everything I need- including a sound system- I thought it should be called "The Lap of Lapidary"!

New Sound System
To create the sound system, I had to get a signal booster so as to access the internet and now I can listen to music all day!

In order to show you everything in the shop, we created four videos and to make it realistic, I did them from the standpoint of taking a piece from a rough hunk of rock to a finished piece.

The first video takes you through the sawing of a large rock to produce a slab or slice.


Then we take the slice through the process to a finished, polished piece.


And then we take a look at a few special machines used to create specific effects in the finishing process.


And finally, I show you how I keep track of all the rock I have cut for future reference and possible use.


I hope that you have enjoyed the tour and if you have any questions about the process or a specific machine, feel free to ask. At some point I will be doing specific posts on individual machines to show them in action.

And if we ever get out from under this virus shadow, come and take the tour in person!

Friday, 15 February 2019

The Jooltool- A Preliminary Assessment

Like many others, I have difficulty working in my rock lab in the winter months. I have an industrial heater but can't leave it on when I'm not there so water tends to freeze and wheels don't turn like they should.
My daughter, Lisa, has used a machine called a Jooltool in her work with polymer and precious metal clay and since she is so busy dying yarn for Seawall Fibres she sent it to me to try because it can be used anywhere with no mess. Here's what it looks like.
It is basically a rotating spindle to which you attach these "ninja" type wheels which vary in coarseness from about 100 to 50,000 grit. You work the stone from underneath the wheels but when they are spinning, you see the stone perfectly because of the gaps. here's mine set up on my bench.
As you can see, it doesn't take up a lot of space. I worked on it for a few hours this morning and was surprised at the lack of dust, especially since you don't use a lot of water. And it doesn't make a lot of noise- perfect for indoors.
To test it, I took a stone that I had cut but not worked at all.

 It still had a few saw marks in it so I started with the medium grinding wheel and took it through to 50,000 grit and then cerium polish. And while the stone had some flaws and I didn't spend a lot of time on it, here's the result:
Honestly, I was pretty impressed! I also did a bit of shaping and it worked well. So then I tried it on a specimen piece that had previously been worked to 325 grit on my slant lap. Here's a video of the finished product.
So here's my assessment so far.
If you don't have much space, you could do a lot with this machine. The same goes for those who live in northern climates and can't work in their usual manner. It is a real advantage to be able to see the surface of the rock while it is being worked. The Jooltool isn't cheap- in fact, it's quite expensive. Buying the basic set up needed for lapidary will set you back $1300 Cdn. plus tax. But I have to say that if, like me, you have serious cabin fever and need to work on some pieces, I actually think it is well worth it. A lot of thought has gone into the design and it is incredibly well built.
So check it out on line and keep checking my blog because my next project will be to make a domed cab. As always, I'll be perfectly honest in my assessment.
And if you want to see it in person, contact me and I'll set something up.
Cheers

P.S. I am not a dealer for this or any other lapidary machine.

Monday, 30 April 2018

My New Hi-Tech Slant Lap

Well, the new toy has arrived and after regrettably divesting myself of a few other toys, I now have space for it in the shop. I am not going to post a "How To" video since there are good ones on You Tube and the Hi-Tech web site but if there is interest, I might do another post showing how I use it to shape cabs. In the meantime, here it is "in situ" as we geologists say:


One thing I am going to show you is a trick I came up with for centering the diamond laps and pads perfectly on the backer plates since they have to be assembled. I was pretty worried that I might screw it up and get it off centre so I came up with a foolproof plan. Actually, since it worked perfectly for me four times in a row, we can probably upgrade that to idiot proof!
The backer plate has a hole and I started with a wooden dowel that was just slightly smaller. I am pretty sure it was a nominally half inch dowel but my caliper said it was exactly 0.43 inches. I then used black electricians tape to build it up until it fit snugly in the hole but didn't need to be jammed. This turned out to be a diameter of 0.48 inches. I had previously cut it to be about 2 inches long and here it is:

I then placed the backer plate on a flat surface with the face to be bonded to the lap pad facing up.


I placed the dowel in the hole and then cleaned the plate using a clean soft paint brush I stole from my artist/wife (who, hopefully, will never read this).


After taking the backing paper off the glued side of the pad, I applied pressure at two points on the edge to create a slight "U" shape.


And then I slowly lowered it down onto the dowel until the lowest part of the pad was touching the backer plate and pressed it down, working from the centre out.


In each case, my pad was slightly larger than the backer pad but the excess was perfectly uniform so will not be a problem. The holes match up perfectly.
For those of you who might want to add the foam pad as a cushion, I tried using the dowel to locate the hole properly (there was no hole on my pads). I simply put the cushion pad underneath a backer plate, put chalk on the end of my dowel and lowered it through the hole until it made contact with the foam and then turned it about 90 degrees. When I removed the dowel from the hole, the result was a perfect chalk circle which I could then cut with an exacto knife.
I hope this is of some use to someone and will shortly be showing you the results from this machine. But I also want to say a few words about the machine itself. First, every aspect is sturdily built. Secondly, since I will be doing a lot of cabbing on it, it was important to me because of my leg problems that I could sit comfortably and be able to see the stone from the side when shaping. The 8 inch Hi-Tech slant lap is perfect for me on both counts. If I could improve it in any way I would increase the size of the water reservoir. I will do so by dripping water into the reservoir from my own home built water tower. Also, I would include a holder for the Allen wrench as I had on my last lap so it had less chance to disappear.
And one disclaimer, I am not associated with the manufacturer in any way and, unfortunately, paid full retail for my unit.
But it was worth every penny!
Message or email me if you have any questions or observations and if you happen to get lost and end up on Digby Neck in Nova Scotia Canada, stop in and I'll show you it working in person!
Cheers.

Monday, 16 April 2018

Hi-Tech Slant Lap On The Way

Well, I finally pulled the trigger.

Since I got my 6 inch flat lap, I have had so much fun that I have been wondering if I should get a bigger one. They are not cheap and I AM 72 years old but I have been dieting and doing my exercises so chances are pretty good that I can get a year or two at least out of it. Besides, Vickie has told me that if I croak, she will just give it to Raul, our pool boy. Waaaiiit a minute- we don't have a pool!

Anyway, the deed is done and I have ordered the Hi-Tech 8 inch Slant Lap (basically a flat lap turned on its side a bit). Here's what it looks like.


With this machine, I can do everything from fairly coarse grinding (180 grit) to fine (I bought an extra 8,000 grit plate) and then polish with the polishing lap and any polish I care to use (probably a mix of cerium and tin oxide).

Don't know yet whether I will sell my 6 inch flat lap or have it set up at a specific grit to speed things up. If I don't sell it, I will probably sell my Lortone combination trim saw/ grinder or Rock Rascal trim saw/grinder. So if you are interested in some really good used equipment, let me know.

It is still quite cold here (about freezing) but warmer weather has to come soon! Stay tuned for some really great rock pics!

Cheers.